

The tightbore barrel for the M324 has been talked and talked about endlessly, but I've yet to see a topic anywhere in which someone has actually installed and tested one.
It's time for that to change.
About a month ago, I ordered one of the tightbores for the M324 from DB Custom Airsoft, located in Yakima, Washington. The barrel itself cost $50, with a $10 charge added to cover shipping, bringing the total to $60. I spent the money happily to bring YOU the results.
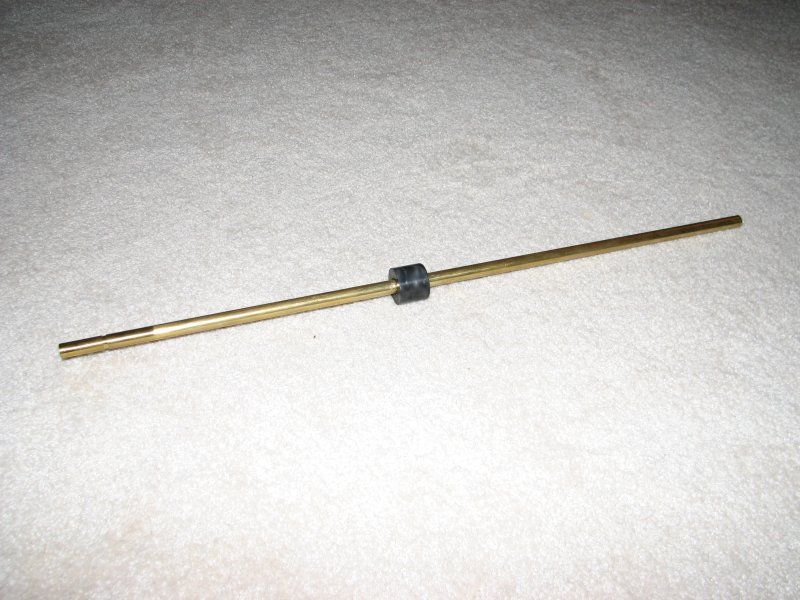
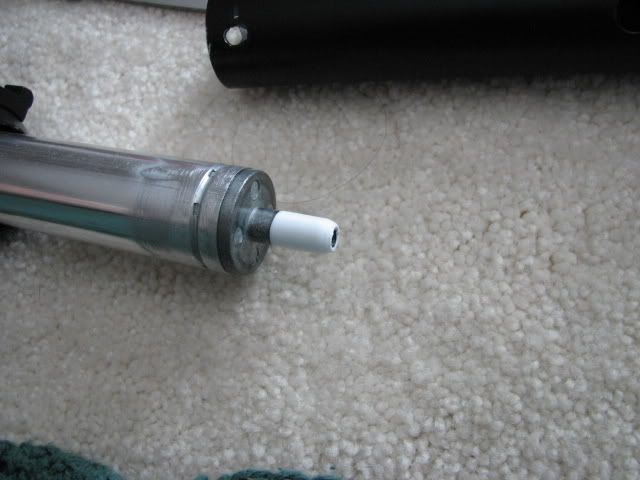
I tried to get a good shot down the barrel so you all could see how gorgeously smooth it is inside. You'll have to take my word for it.
INSTALLATION
First, let's start with installation. I took over sixty pictures of the entire process, from start to finish to Poor Man's Chrono, so that even the most inexperienced of airsofters could benefit from this guide. (And let's face it...if you bought the M324...you're probably very inexperienced...not that there's anything wrong with that.)
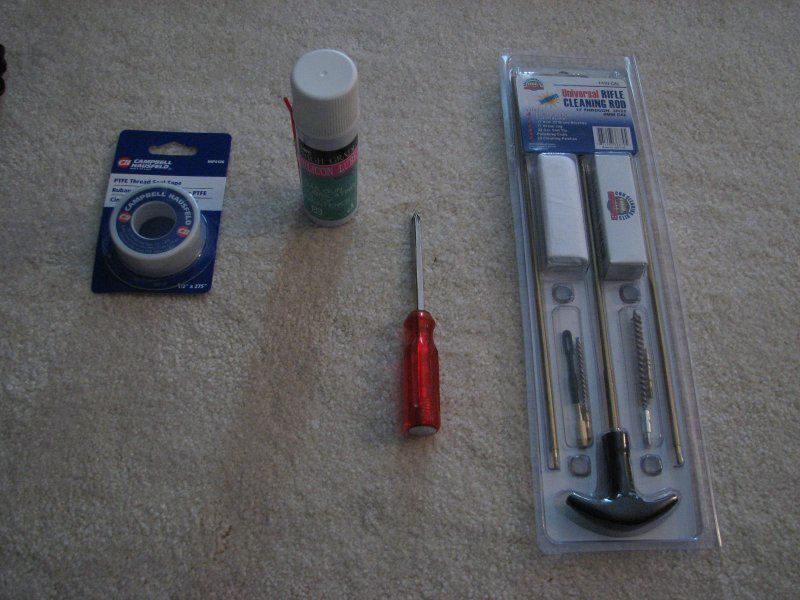
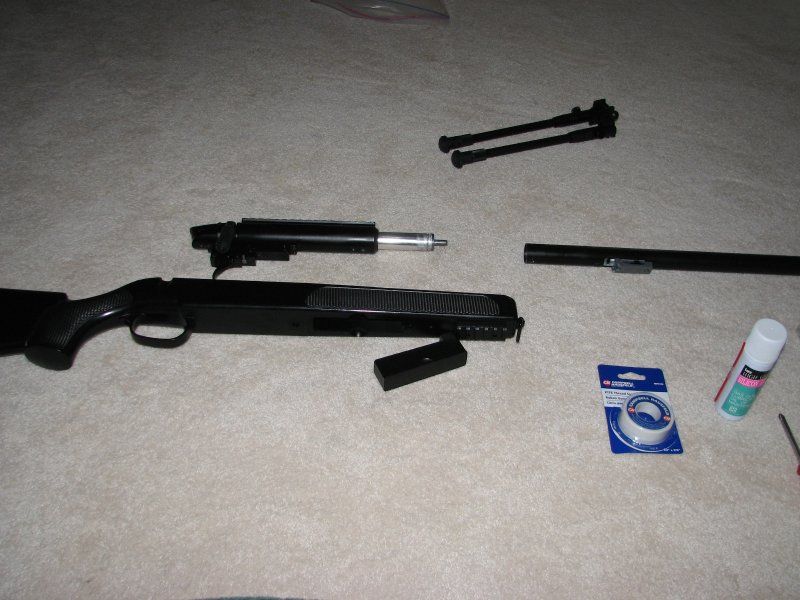
Here's what I used for the installation process. From left to right:
teflon tape, $0.89 at Wal-Mart
lube, you should already have some of this
a Phillips screwdriver, ditto
and a rifle cleaning kit, about 7 bucks at Wal-Mart.
I used the lube and cleaning kit to clean the barrel out before installation, and the teflon tape to tape off the hop-up and cylinder. More on that later.
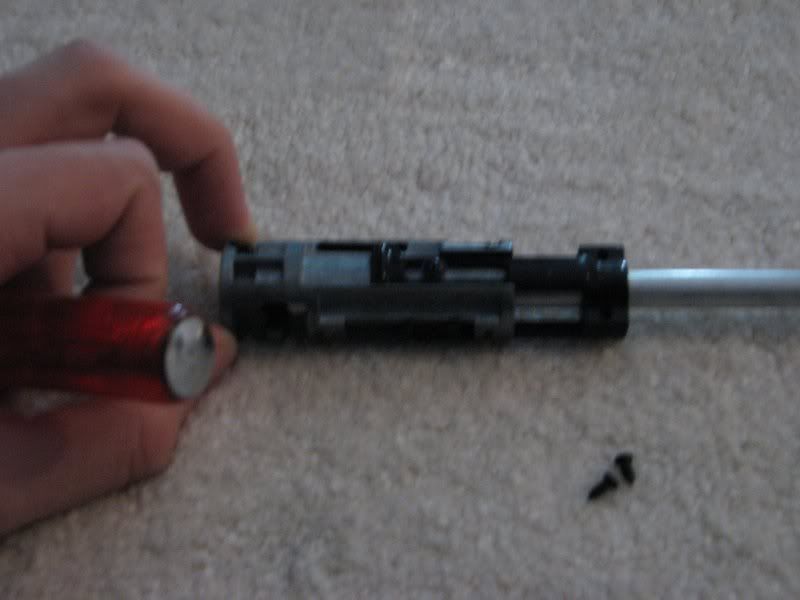
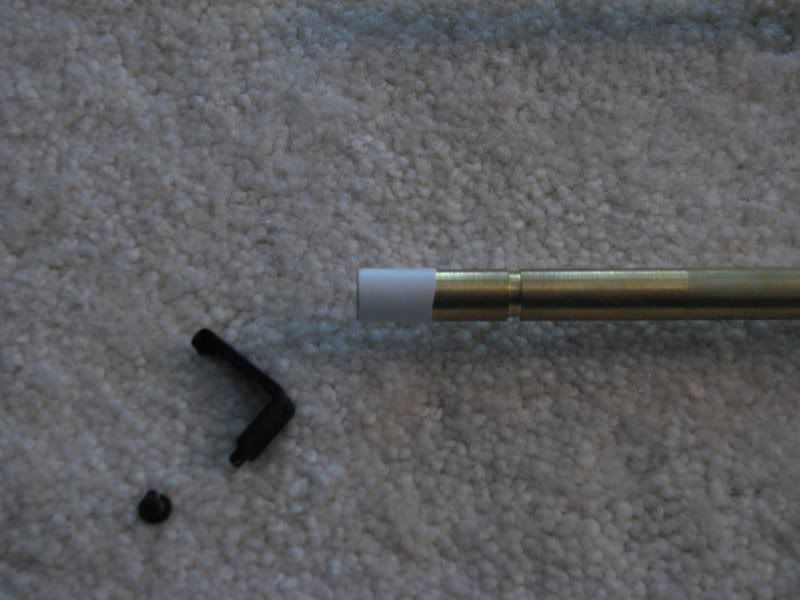
First, let's remove this screw. Use the larger allen wrench provided with your M324.

The screw removed.

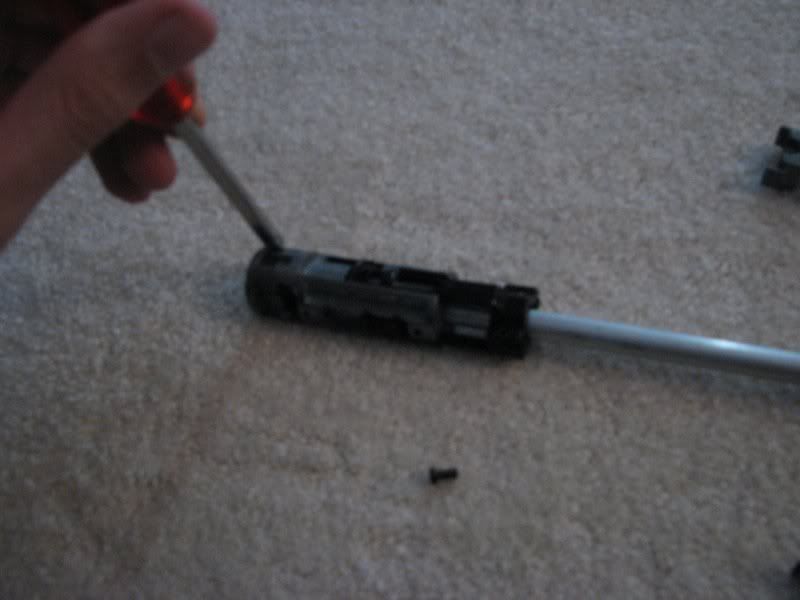
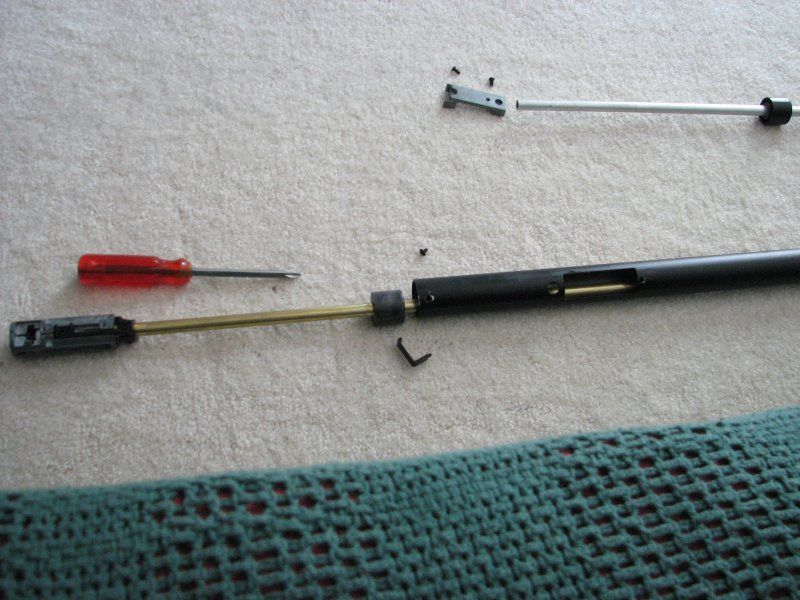
Grasp the outer barrel and pull it out.
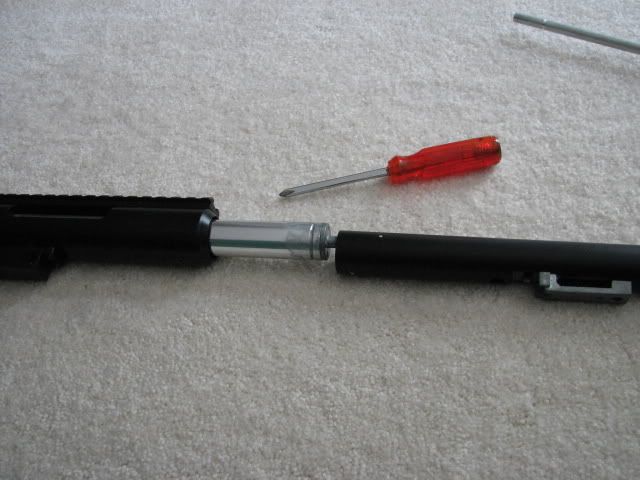
You have now separated the barrel assembly from the cylinder assembly; it should look like this.
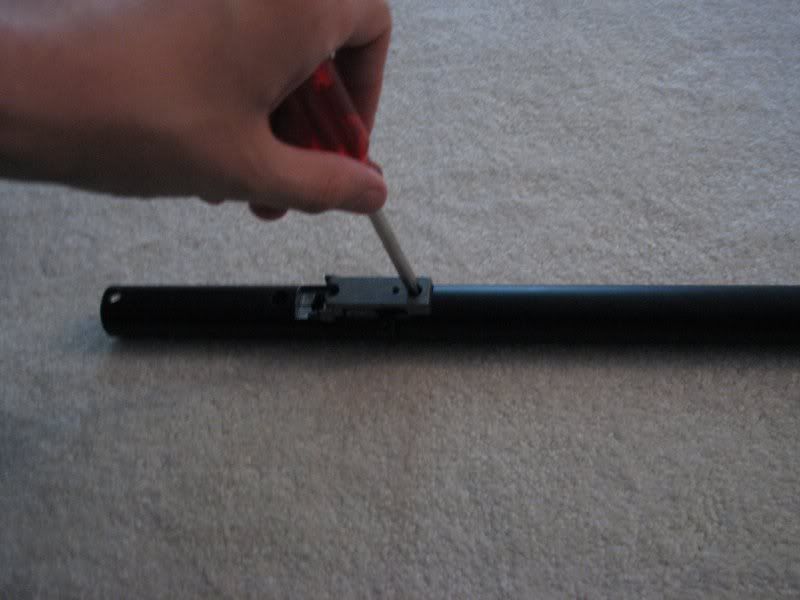
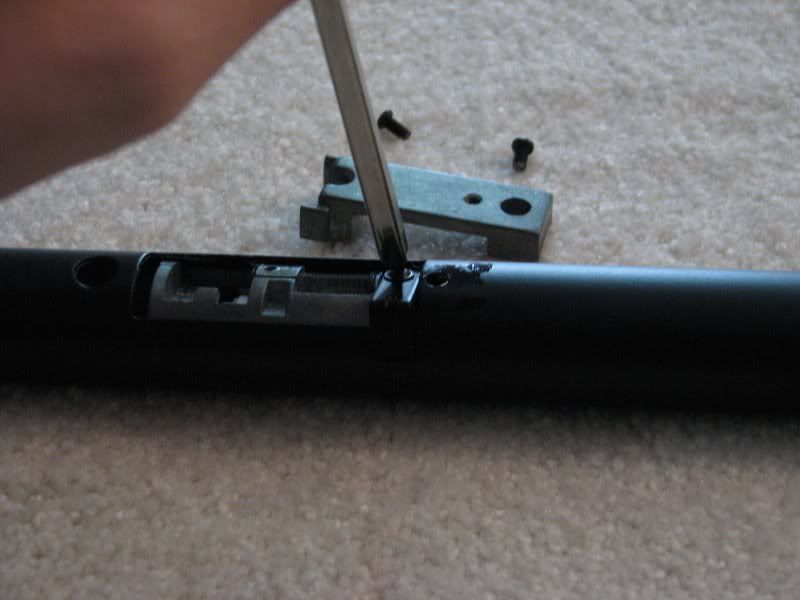
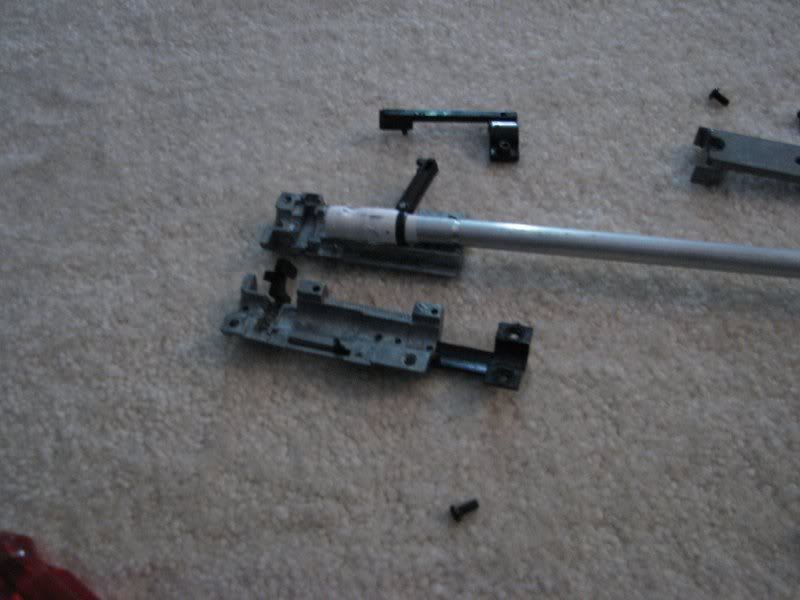
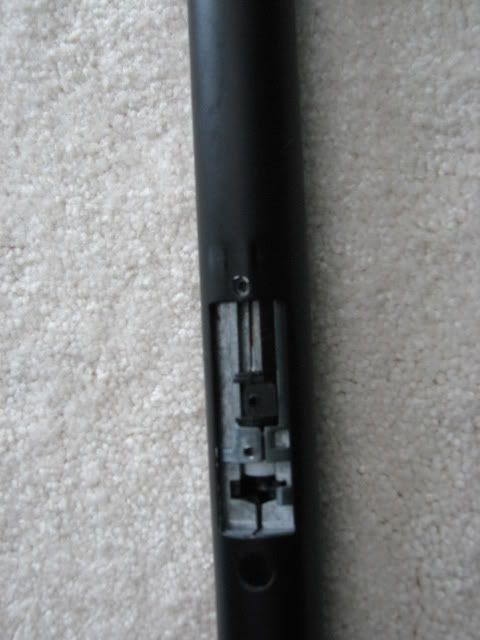
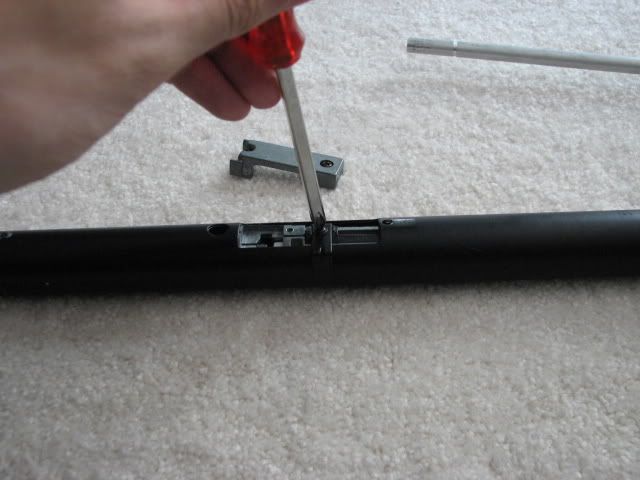
Remove these screws.

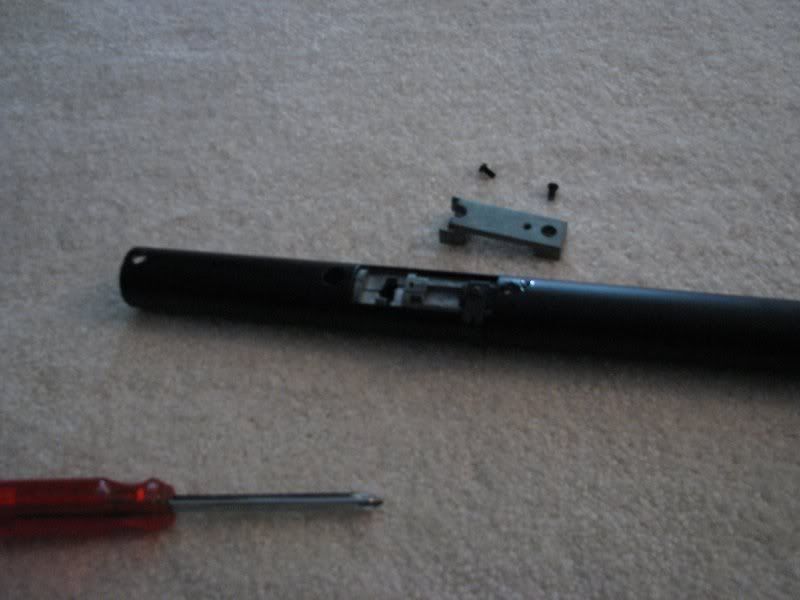
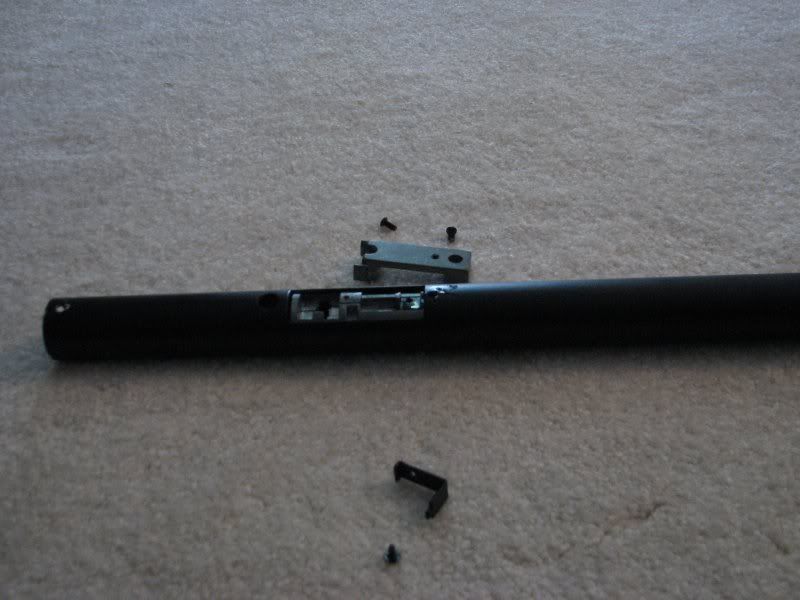
Remove this metal plate.
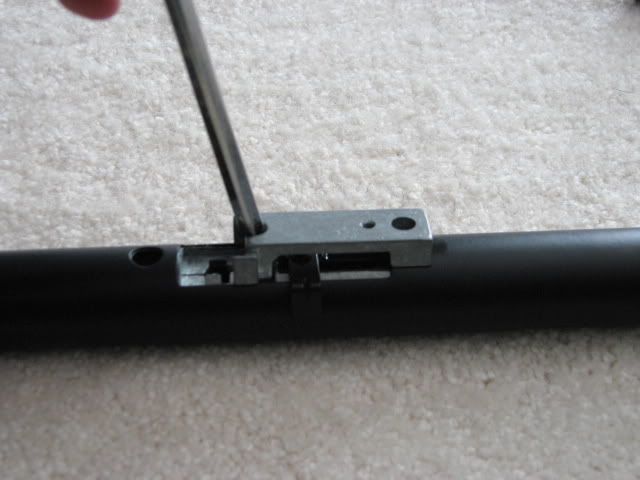
Remove this small screw and the attached hop-up control.
Remember to keep all the stuff separate (and don't lose any of it!)
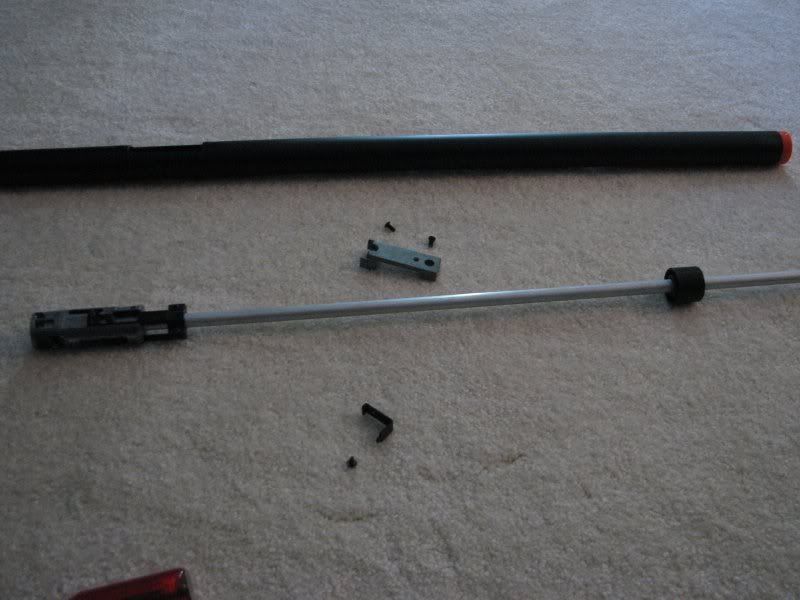
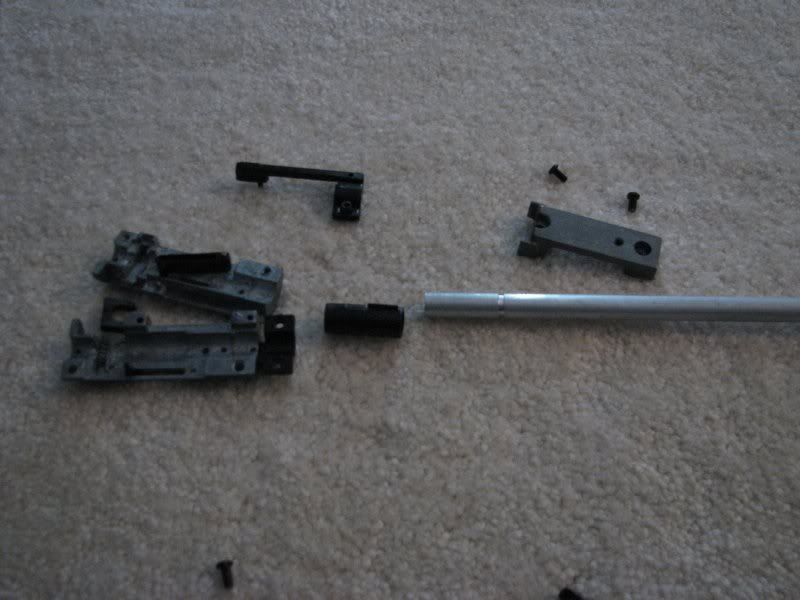
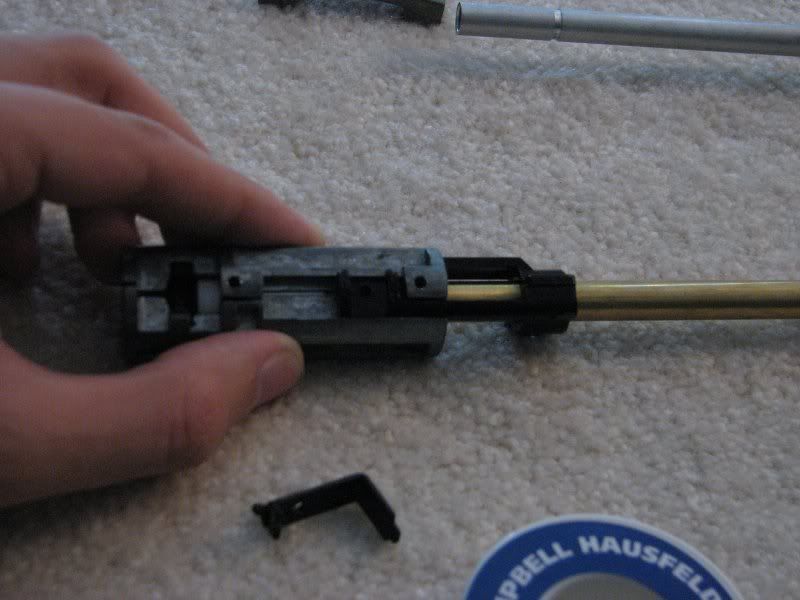
Slide the inner barrel and hop-up out of the outer barrel.
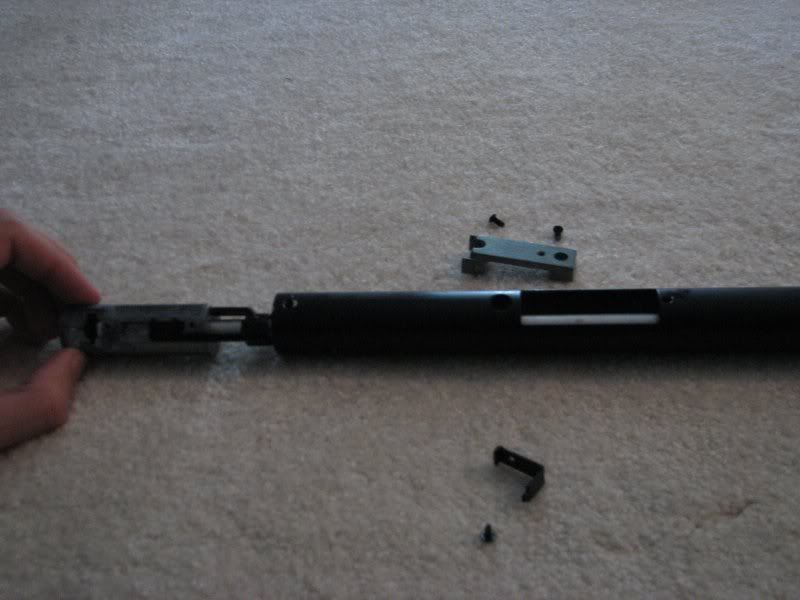
Voila, the inner barrel/hop-up.
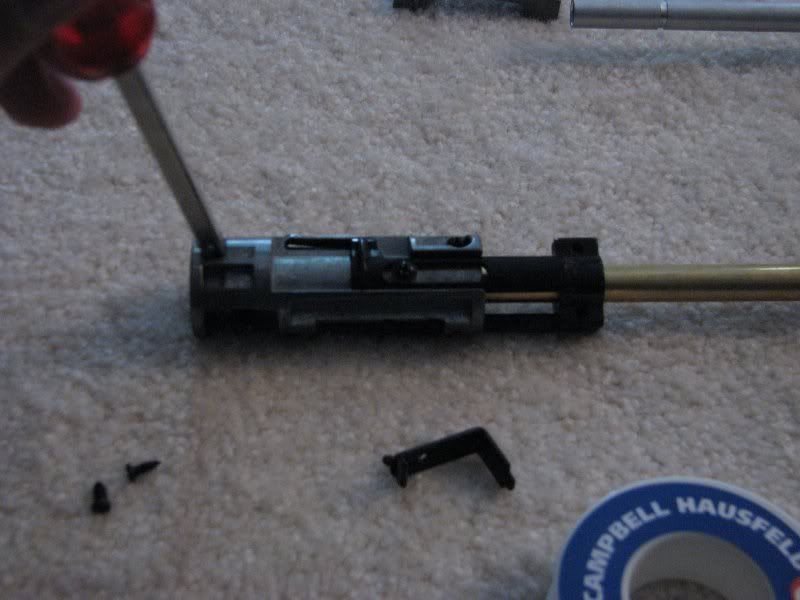
Remove these two screws.

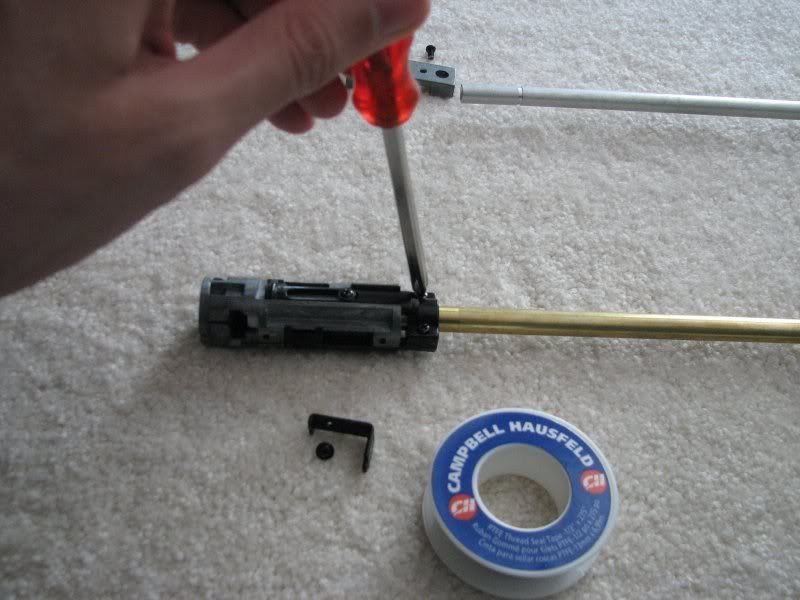
Now remove these two screws on the top of the hop-up.
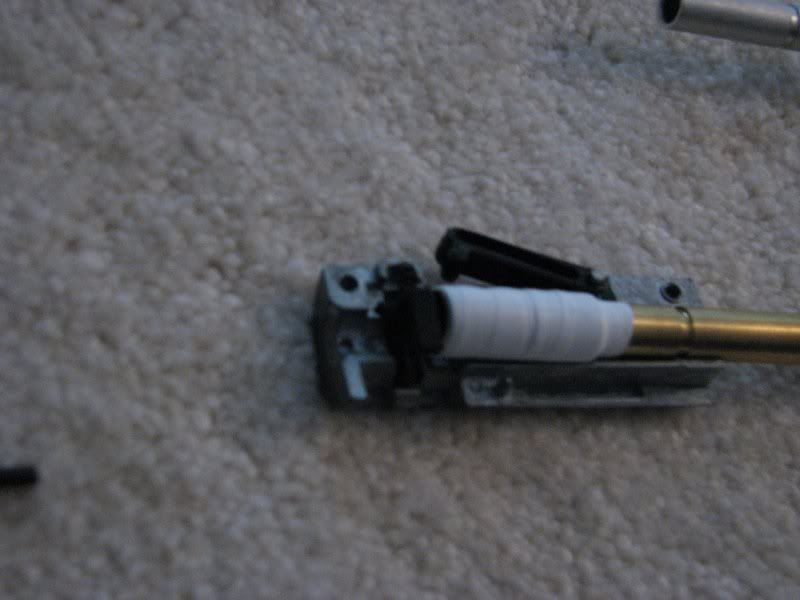
The hop-up will now come apart. Don't be afraid if some pieces jump out, just keep track of them all. Note that I have teflon taped my hop-up...I removed it immediately after this picture was taken so I could apply a fresh taping.
Remove the inner barrel from the hop-up and pull off the black hop-up bucking.
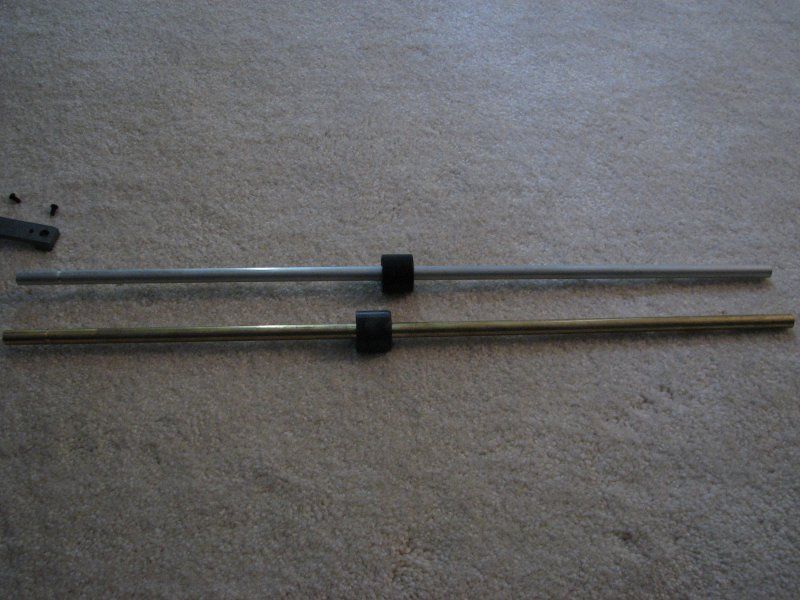
Side-by-side comparison of the old (aluminum) barrel and the new (brass) tightbore.
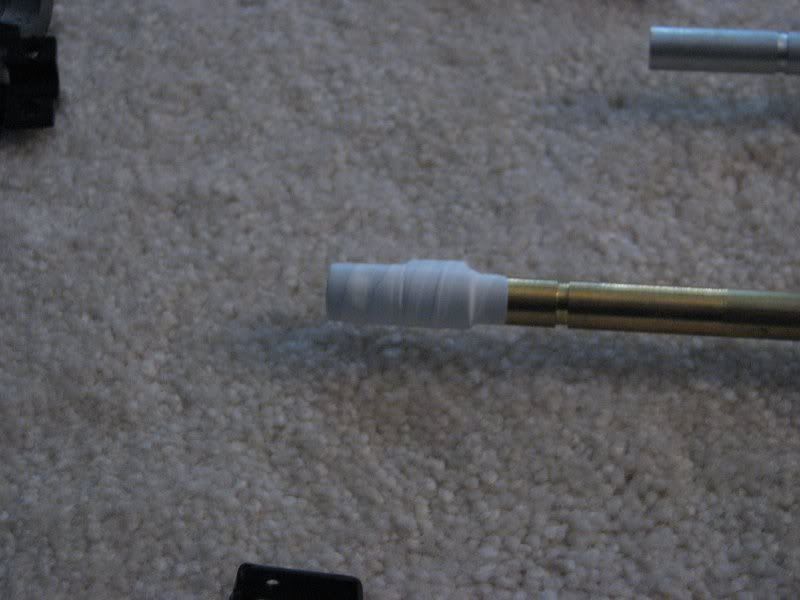
I have now wrapped the NOTCHED end of the barrel with approx. two wraps of teflon tape.
Put the hop-up bucking back on.

Wrap the WHOLE BUCKING with teflon tape.
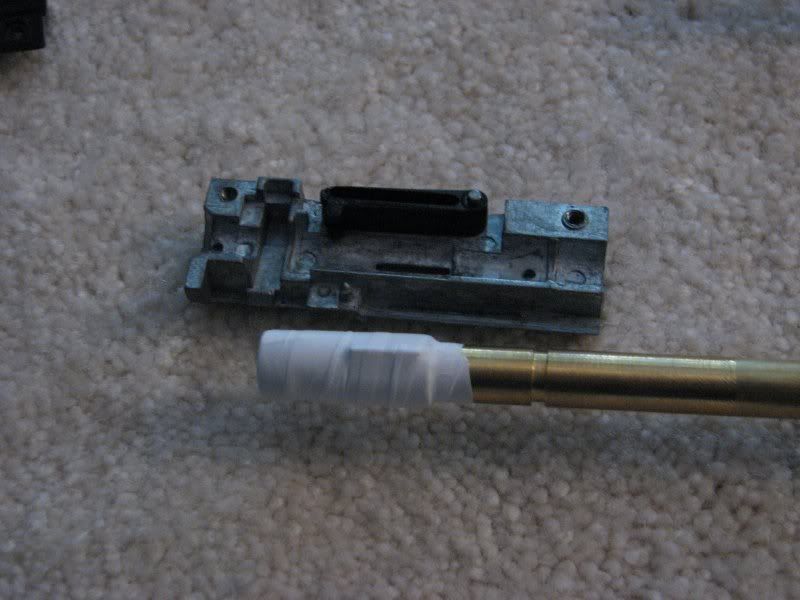
See the raised notch in the bucking? It fits right into that thin rectangular hole in the hop-up.
The inner barrel replaced, and all the inner pieces of the hop-up put back in.
Start to put the hop-up back together.
Put these screws back in. Make sure you've got a good tight seal.
Now put these two screws back in place.
Slide the hop-up and inner barrel back into the outer barrel.
Line up the hop-up as shown.
Replace the hop-up control lever and screw it in.
Replace the cover plate and screw that in.
If you like, wrap some teflon tape twice around the end of the cylinder to promote a better seal.
Slide the outer barrel back into the cylinder assembly.
Make sure the holes line up.
Put the allen wrench screw back in place.
TESTING
POWER
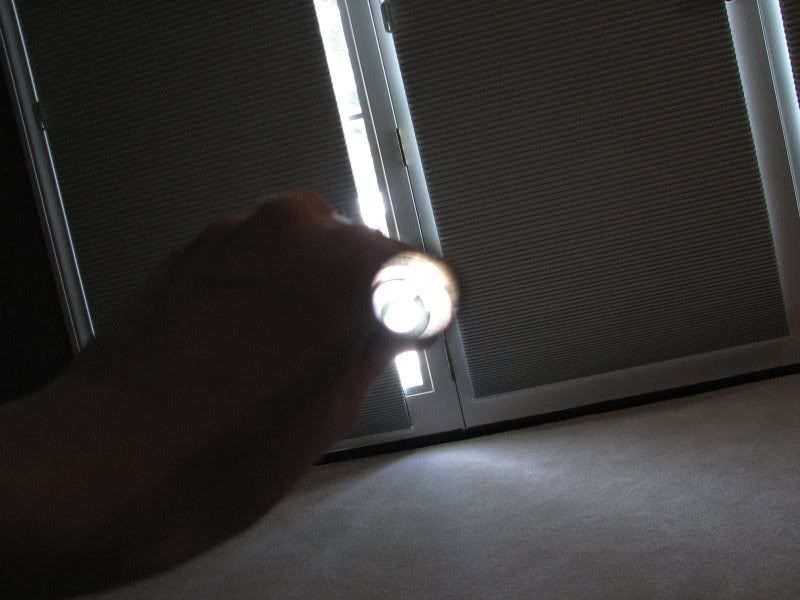
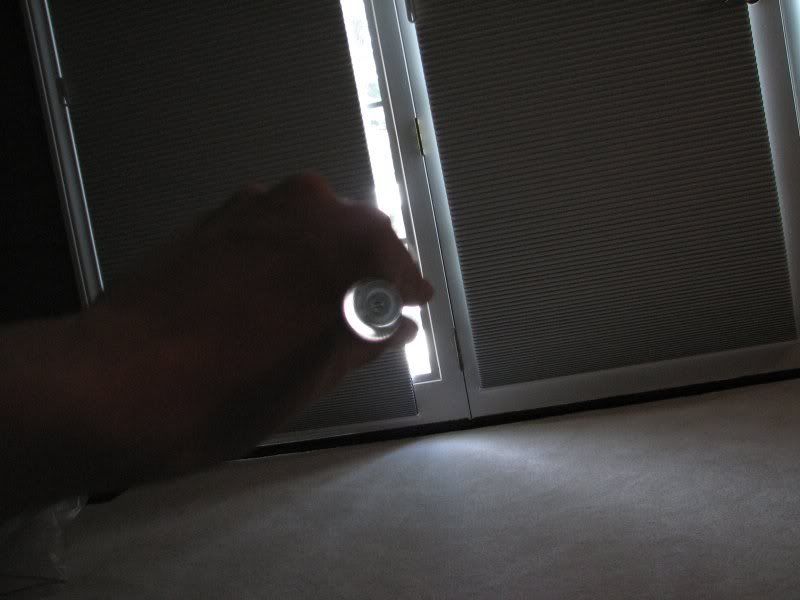
Alright, now the fun part. Here's my Poor Man's Chrono testing pics (with before and after.)
Poor man's chrono info courtesy of RedWolf Airsoft (http://www.redwolfairsoft.com/redwolf/airsoft/BulletDetail?bulletID=34)
ONE SIDE
(BB remains in can after penetrating one side) 290 to 310 fps
BOTH SIDES
(BB makes it straight through and exits on the other side) 350 to 370fps
BOTTOM (CENTRAL) 430 to 450fps
BOTTOM (EDGE) 450 to 470fps
TOP (EDGE) 480 to 510fps
TOP (CENTRAL) 520 to 540fps
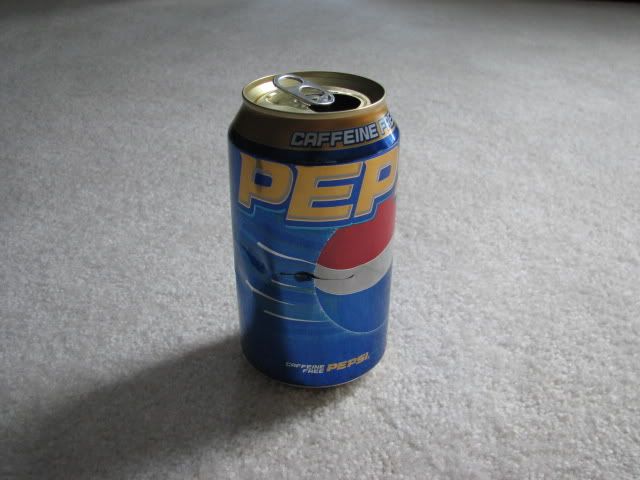
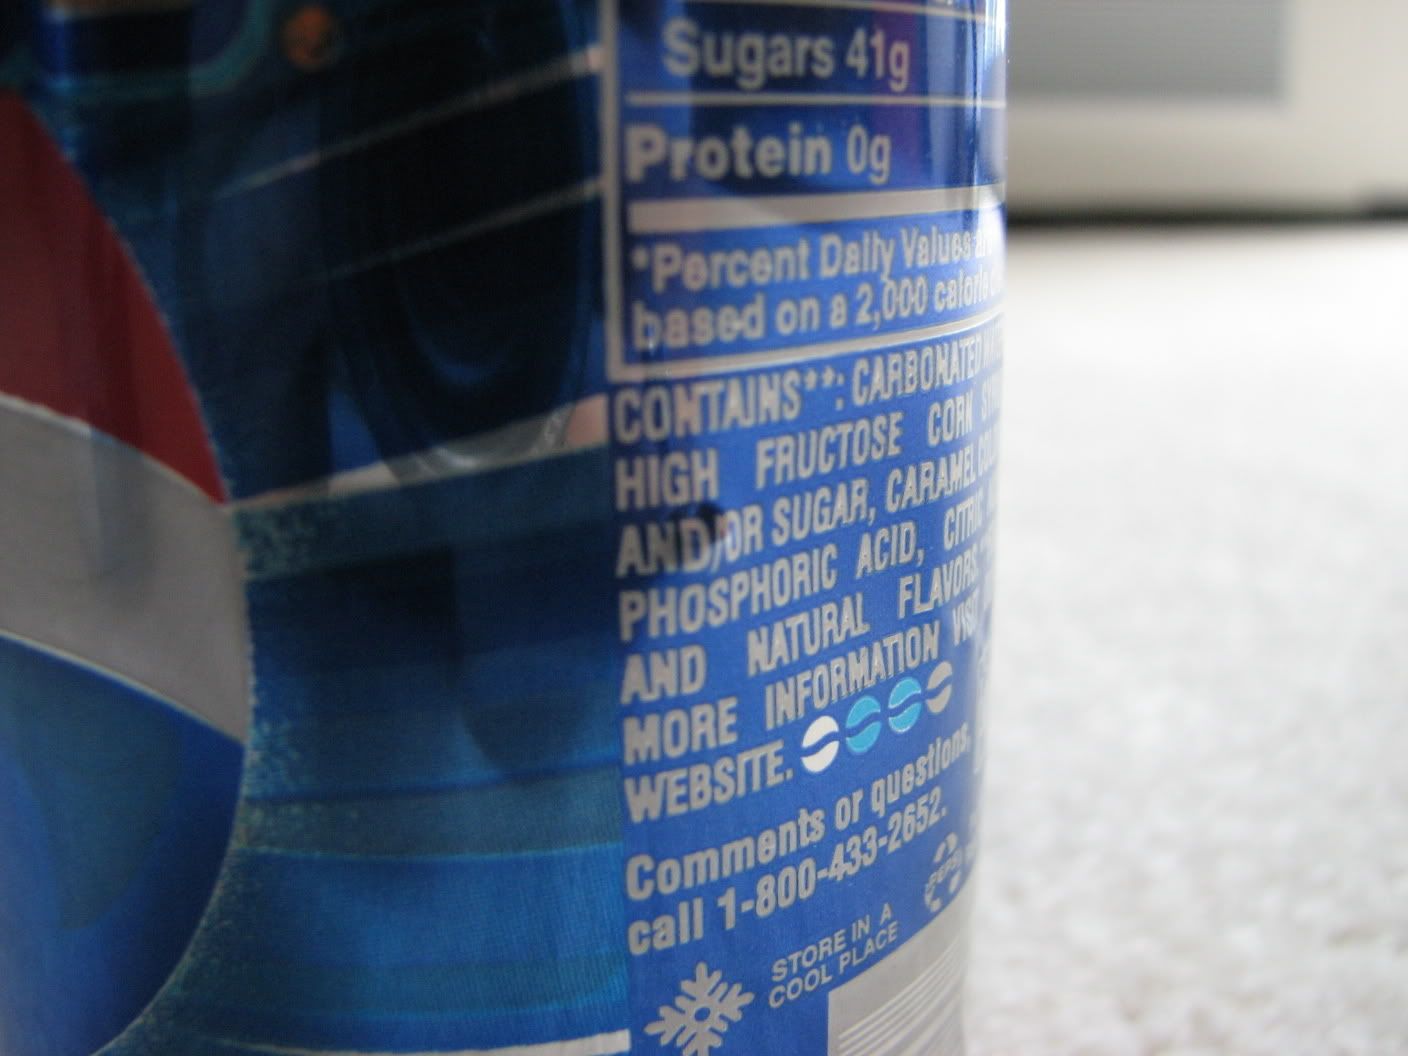
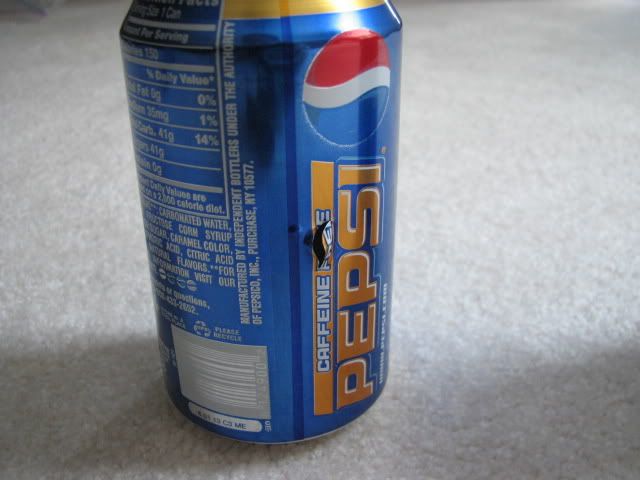
Stock M324. As you can see, it went through one side---but stopped there. It left a small dent in the other side (right where it says "AND/OR" on the back). 290 to 310 fps.

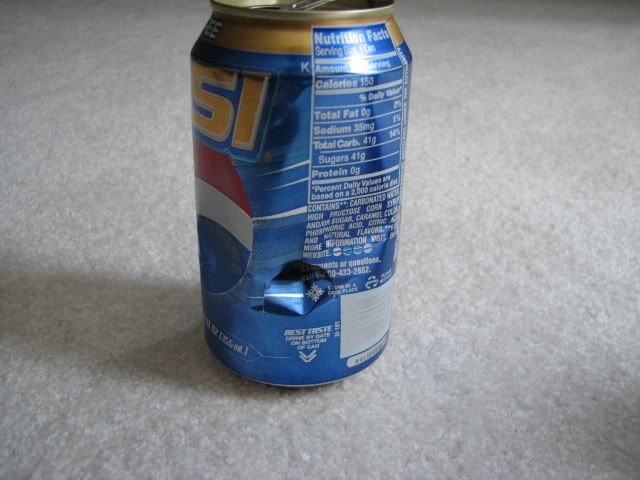
M324 with teflon tape (but NO tightbore). The BB goes through both sides. 350 to 370fps.
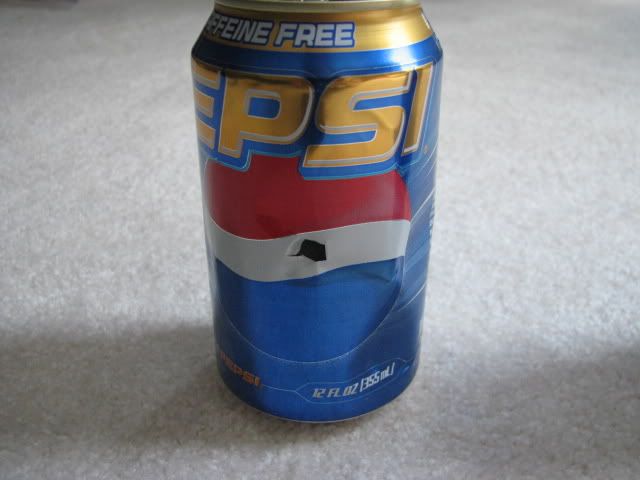
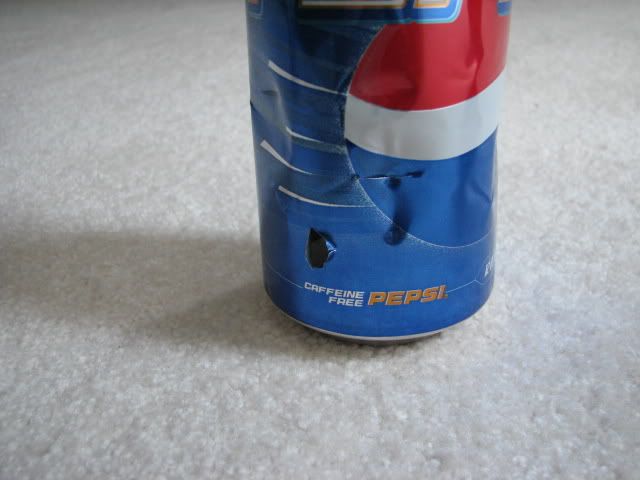
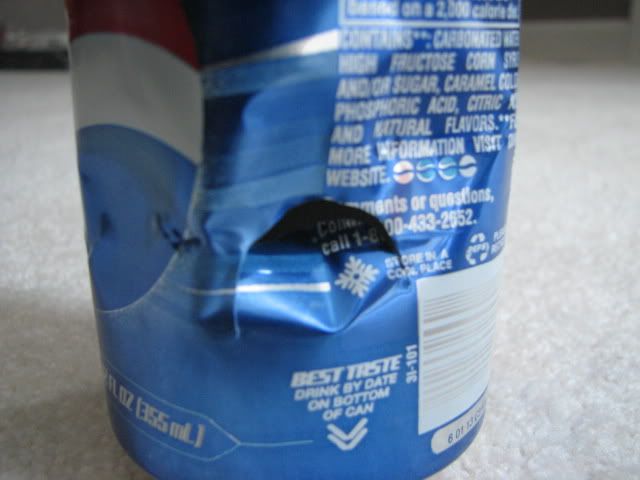
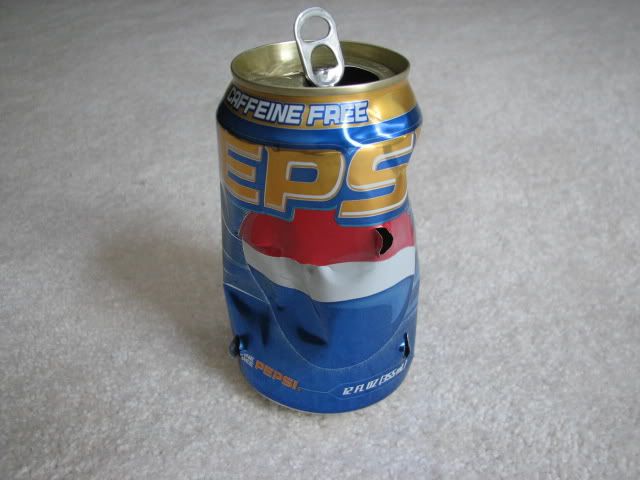
M324 with tightbore and teflon tape. The BB leaves a rather monstrous hole in the front and goes easily through the back. >370fps.
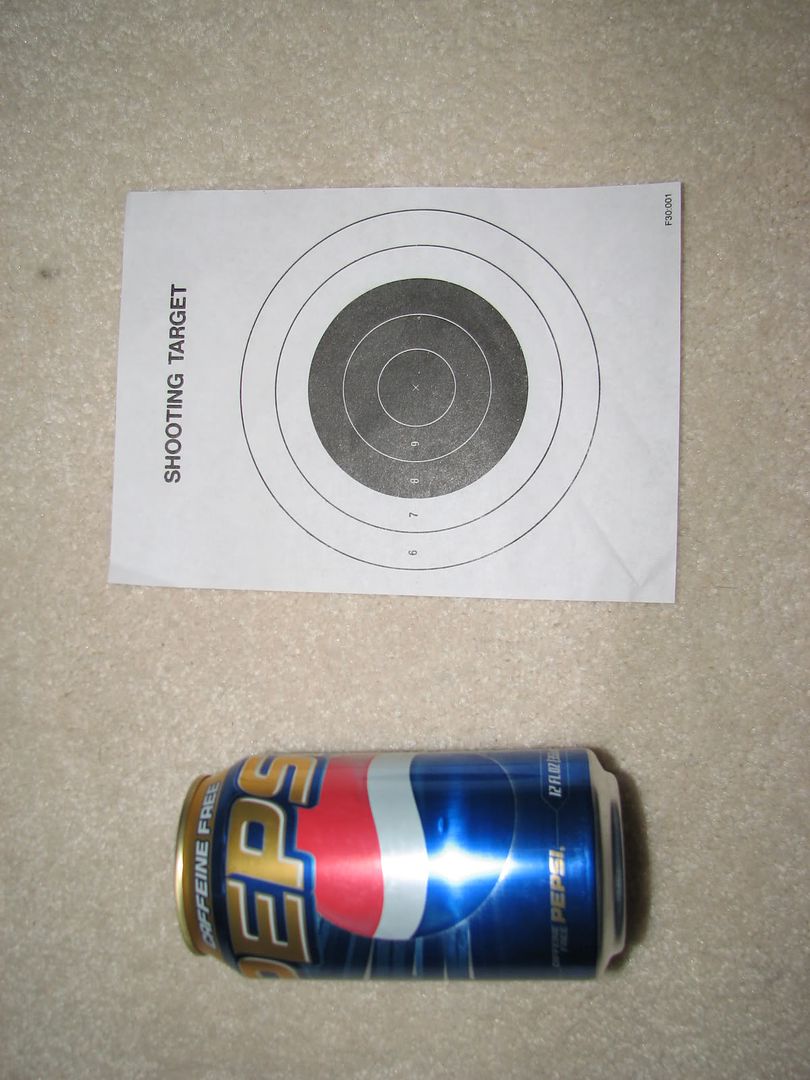
A poor pepsi can after a few 'just for fun' shots.
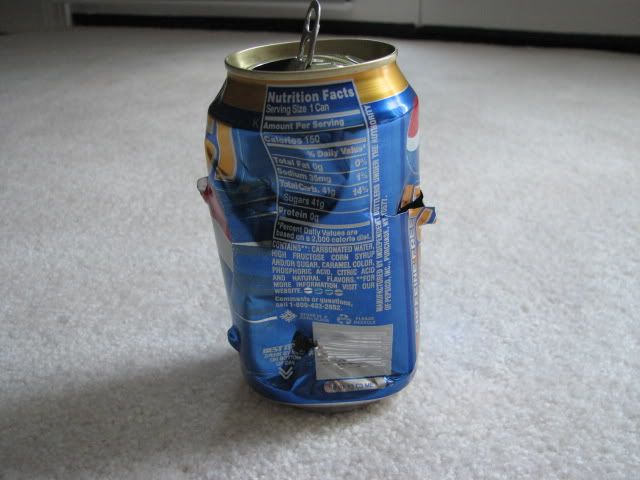
Not quite strong enough to break through the top. <480fps.

...but easily blasts through the bottom. >=450fps.
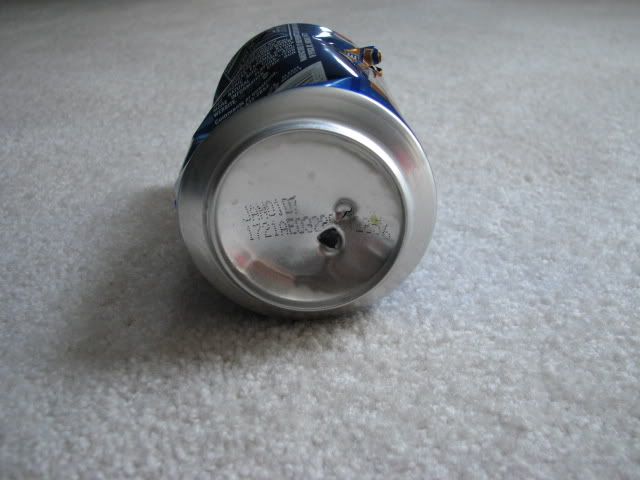
So, as you can see, my M324 now has an estimated muzzle velocity of 450-480 feet per second. I'll get some accuracy comparison pictures up pretty soon...but I can tell you right now, it's hitting dimes at 70 feet.
Some pictures of BBs I shot at a pane of glass:
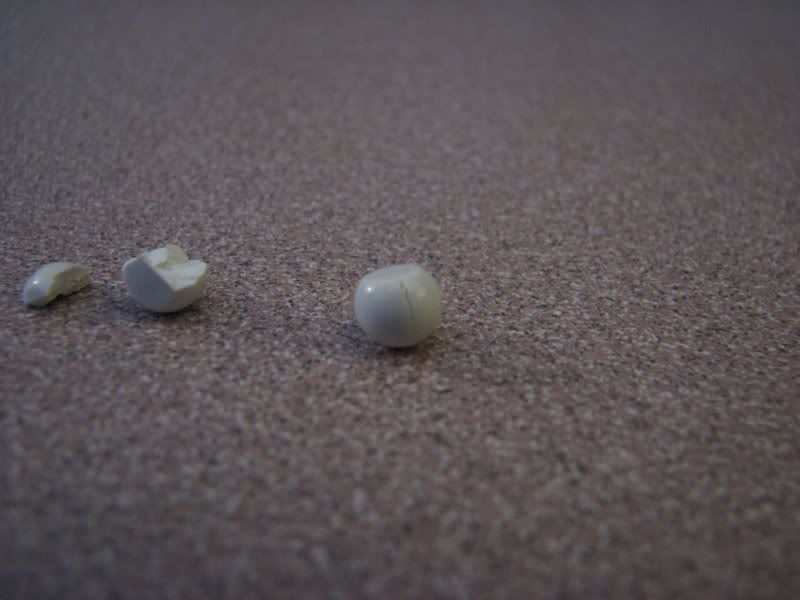

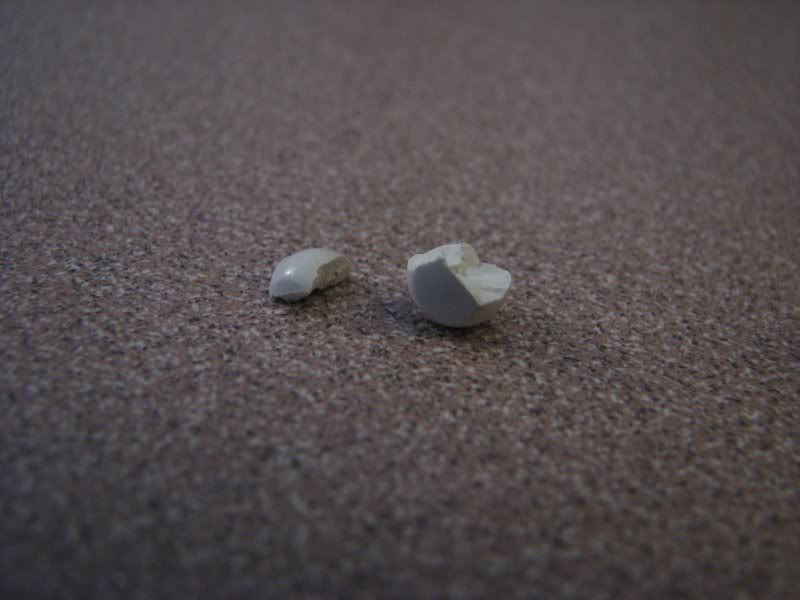
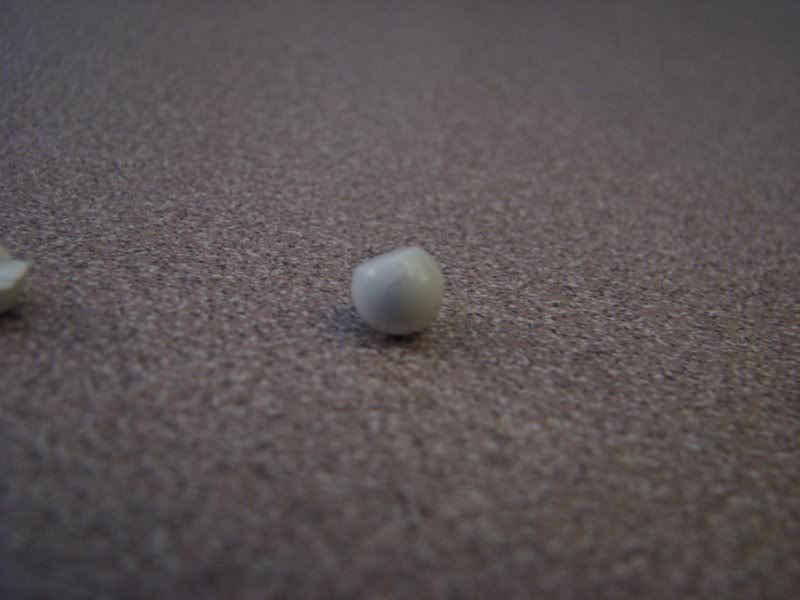
This gun butchers BBs now. If they hit anything even remotely solid, the force of their impact causes them to shatter. And this is using KSC 0.20g "perfect" BBs... (http://www.shortyusa.com/cart/viewitem.html?II=248)
ACCURACY


0 comments:
Post a Comment